
Regina Henschel shows you how to do some nifty 3D tricks in LibreOffice…
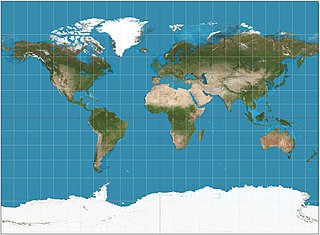
First, you need a world map in “Miller projection”. You find a suitable one on Wikipedia – download the full-size version. Here’s a thumbnail of it (CC-BY-SA, Daniel R. Strebe, August 2011):
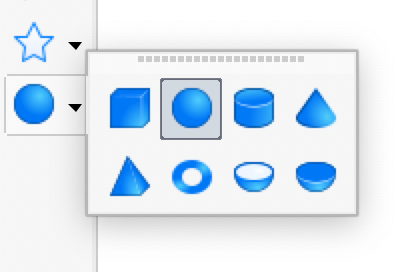
Next, start LibreOffice Draw, and create a sphere from the “3D-Objects” toolbar.
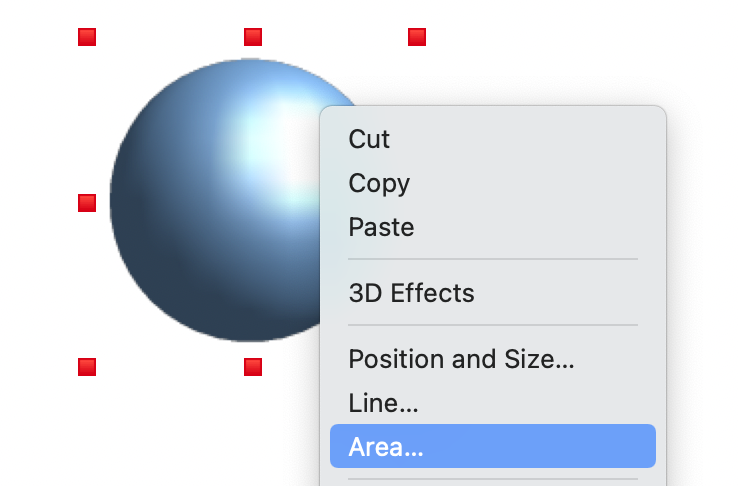
Click the sphere to select it, right-click to bring up the context menu, and choose “Area”.
In the dialog box that appears, click on “Bitmap” and then on “Add/Import”. Select the downloaded map, and enter a name for it, that you will use in your collection of bitmaps. The image should be applied to the sphere. If not, select the map from the collection.
Then, in the “Options” part of the dialog box, select the item “Stretched” from the drop-down list “Style”. Click OK. Your globe is finished!
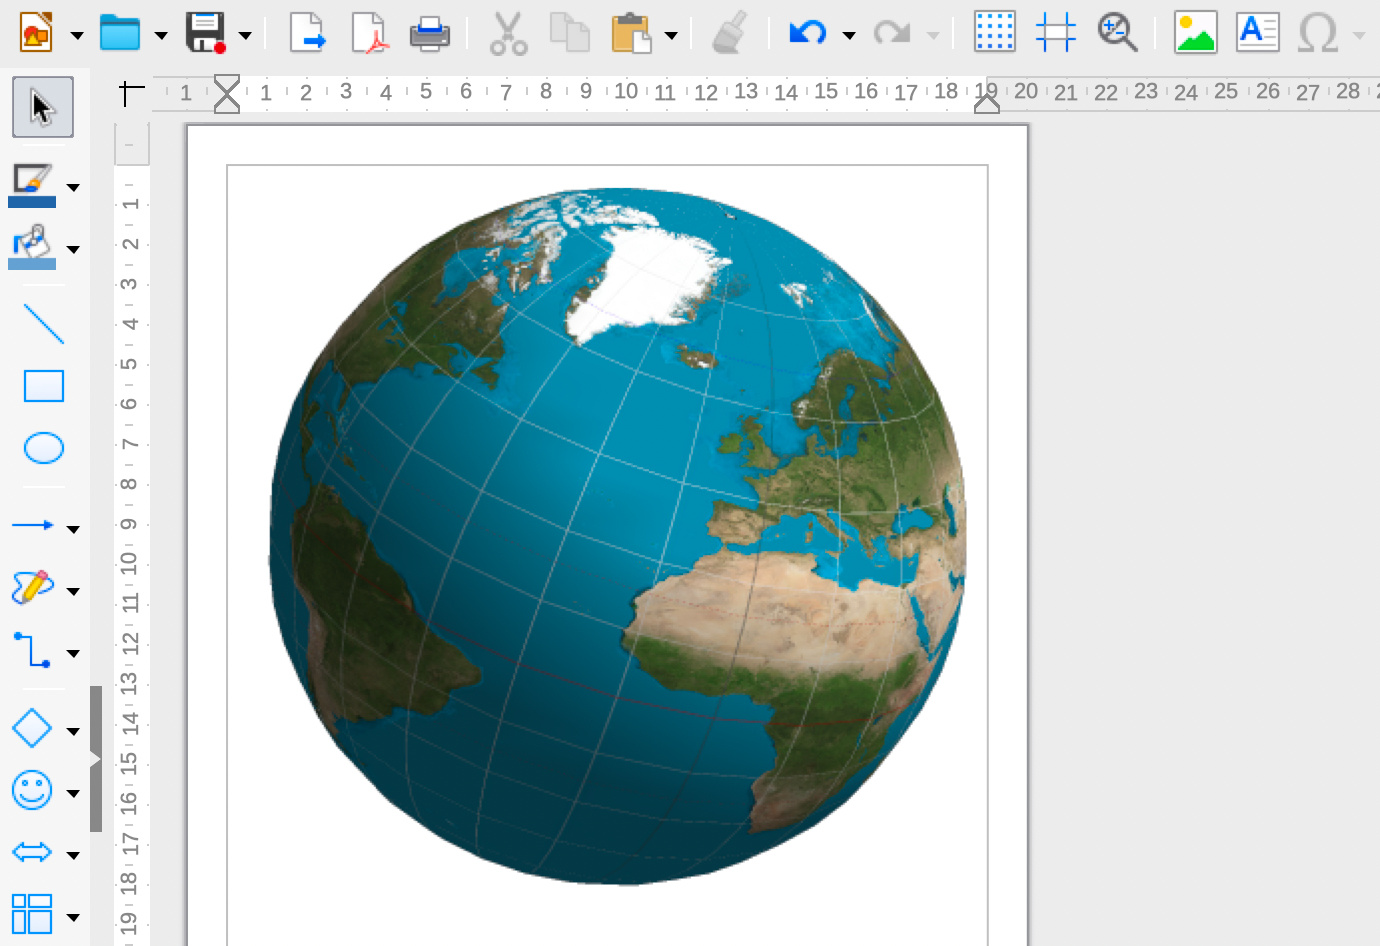
Now you can rotate the globe to the part of the earth you want to see – click on it once to show red corner controls, then once again to show orange; the latter can be used for rotation.
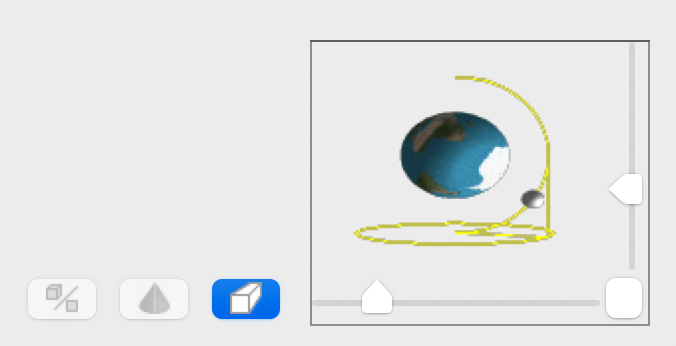
If you want to change the position of the “sun”, open the “3D Effects” dialog from the context menu. Select the tab “Illumination”. In the lower part drag the ball to the desired direction. And finally, apply it with the “Assign” icon top right.
Thanks to Regina for the tips! More guides for LibreOffice Draw, written by our documentation community, are available on this page. Check out the Draw Guide 6.4 for lots more info!
Muy buen ejercicio, no imaginaba que se podia realizar esto en libre draw, exelente, sigan adelante Gracias.
Great! I missed this. Congratulations!
The Miller projection doesn’t fit exactly (being a sort of Mercator projection, it maps the poles to infinity). You should better use the equiangular projection :
https://en.wikipedia.org/wiki/Equirectangular_projection